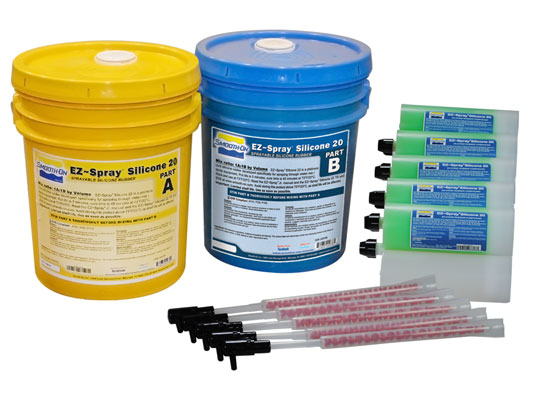
EZ-Spray™ Silicone 20
EZ~Spray™ Silicone 20 is a sprayable silicone which cures quickly to soft rubbers with high elongation and tear strength. Liquid silicone is sprayed through the EZ~Spray™ Junior Cartridge System which is an economical alternative to expensive spray equipment. After a suitable thickness is attained, EZ~Spray™ Silicone 20 cures in about 20 minutes. EZ~Spray™ Silicone cures with negligible shrinkage to strong, durable silicone rubbers good for production casting of polyester, epoxy or urethane resins, gypsum, concrete and other materials.
Features
EZ~Spray™ Silicone 20 silicone is effective at making fast, cost effective vacuum bags for producing composite parts. Newly sprayed or injected bags can be removed from the mold in a matter of minutes and used immediately in production with polyester or epoxy resin systems. The advantage that EZ~Spray™ Silicone offers vs. conventional vacuum bagging systems is the speed at which a production-ready silicone bags can be made resulting in significant time and labor savings. Read the EZ~Spray™ Junior manual prior to spraying.
Instructions
Preparing To Spray - Materials should be stored and used at room temperature (73° F / 23° C). Warm temperatures will reduce the working time of this material. This product has a limited shelf life and should be used as soon as possible. Work environment and tool to be sprayed should also be at room temperature. Wear safety glasses, long sleeves and rubber gloves to minimize contamination risk. Model surface should also be at room temperature.
Because no two applications are quite the same, a small test application to determine suitability for your project is recommended if performance is in question.
Cure Inhibition - Platinum silicones are especially susceptible to cured inhibition by a variety of contaminants (such as sulfur and uncured epoxy resin) resulting in tackiness at the pattern interface or a total lack of cure. If compatibility between the rubber and the surface is a concern, a small-scale test is recommended. Apply a small amount of rubber onto a non-critical area of the pattern. Inhibition has occurred if the rubber is gummy or uncured after the recommended cure time has passed.
To prevent inhibition, a “barrier coat” of clear acrylic lacquer sprayed directly onto the pattern is usually effective. Allow to thoroughly dry. If casting silicone into silicone, use Ease Release 200™ only.
Note: Even with a sealer, platinum silicones will not work with modeling clays containing heavy amounts of sulfur. Do a small scale test for compatibility before using on your project.
If there is any question about the effectiveness of a sealer/release agent combination, a small-scale test should be made on an identical surface for trial.
DO NOT ATTEMPT TO SPRAY RUBBER OR PLASTIC WITHOUT FIRST READING THE EZ~SPRAY™ JUNIOR MANUAL!
Safety - Spraying should be done in a well-ventilated area.
Breathing protection: Everyone in the spray area should wear an independent air supplied hood or NIOSH approved breathing mask. You should also wear vinyl gloves and long sleeve garments to minimize skin contact.
Coverage Rates: Vacuum Bagging
- One cartridge (3.75 lbs., 1.7 kgs) will produce a 3.57 square foot (0.33 square meters) bag at a thickness of 3/16” (4.8 mm).
- One 5 gallon unit (80 lbs. / 36.29 kg) will cover a 76.2 square foot (7.05 sq. meters) area at a thickness of 3/16” (4.8 mm).
- One 55 gallon drum unit (880 lbs. / 399.19 kg) will cover a 838.2 square foot (77.55 sq. meters) area at a thickness of 3/16” (4.8 mm).
Applying The Rubber - This product must be sprayed in layers. 3 to 4 very thin layers (0.08” / 2mm per layer) are adequate to build a minimum final thickness of 0.25” (6.4mm). Start at one end and spray a thin, uniform layer across entire tool. Go back to original starting point and apply 2nd layer to entire tool. Repeat until a minimum 0.25” (6.4mm) thickness is attained. If spraying a small tool, let material gel for 2 minutes before applying the next layer to prevent sagging. Spray undercuts and recesses first. Have an extra pair of hands to brush rubber as it is applied. Let the first coat dry for two minutes at room temperature or when it becomes “tacky” before adding the next coat. Repeat until the necessary thickness is achieved. Do not allow rubber to fully cure between layers, as delaminating may result.
Curing - Allow the rubber to cure for at least 20 minutes at room temperature (73° F/23° C) before demolding. Do not cure rubber where temperature is less than 65° F /18° C. Post curing the rubber after rubber has cured at room temp. (applying heat – 145°F/60°C for at least 1 hour) will increase physical properties and performance.
Using The Mold Or Bag - A release agent is not necessary; however using a release agent prior to casting lengthens the production life of any rubber. The type of release agent to use depends on the material being cast. Universal™ Mold Release is good for releasing resins recommended for most applications and is available from Smooth-On or your local distributor.
Mold Performance & Storage - Fully cured molds or bags are tough, durable and will perform if properly used and stored. The physical life of the mold depends on how you use it (materials cast, frequency, etc.). Casting abrasive materials such as concrete will eventually erode mold detail, while casting non-abrasive materials (wax) will not affect mold detail. Using the right release agent is essential in all cases. Contact Smooth-On to discuss your particular application. Before storing, the mold should be cleaned with a soap solution and wiped fully dry. Two part (or more) molds should be assembled. Molds should be stored on a level surface in a cool, dry environment. Do not stack molds; expose them to moisture or UV light.
Related Categories: Silicone Rubber - Platinum Cure
Related Series: EZ~Spray™ – The Easiest Way To Spray Moldmaking and Coating Materials
How-To Articles
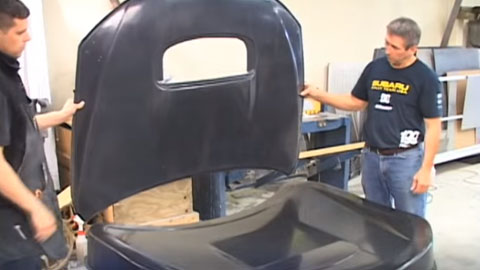
How To Use EZ~Spray™ Jr. To Make Vacuum Bags - PART 3
Using Smooth-On EZ~Spray® Jr. System To Create Sprayed Silicone Vacuum Bags - PART 3
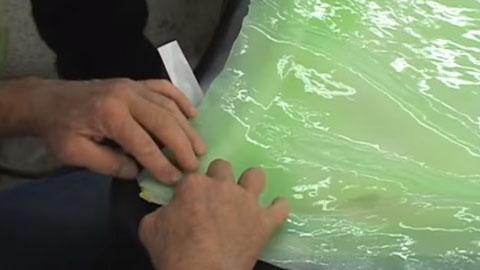
How To Use EZ~Spray™ Jr. To Make Vacuum Bags - PART 2
Using Smooth-On EZ~Spray® Jr. System To Create Sprayed Silicone Vacuum Bags - PART 2
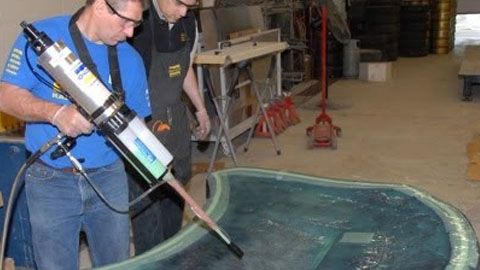
How To Use EZ~Spray™ Jr. To Make Vacuum Bags - PART 1
Using Smooth-On EZ~Spray® Jr. System To Create Sprayed Silicone Vacuum Bags - PART 1
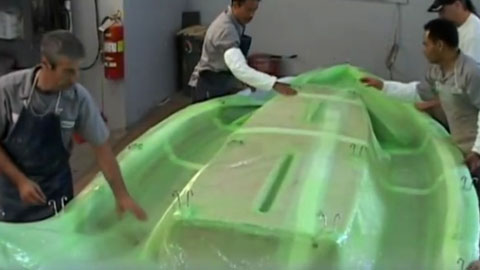
Advantages of EZ~Spray™ Silicone 20 - PART 2
EZ-Spray® Silicone 20 Offers Several Advantages Over Conventional Vacuum Bagging Materials - PART 2
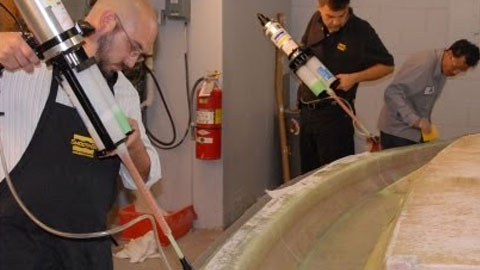
Advantages of EZ~Spray™ Silicone 20 - PART 1
EZ-Spray® Silicone 20 Offers Several Advantages Over Conventional Vacuum Bagging Materials - PART 1
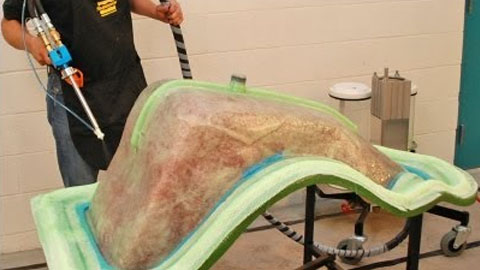
How To Make a Silicone Vacuum Bag for Resin Infusion
This video demonstrates how to make a silicone vacuum bag which is used for resin infusion.
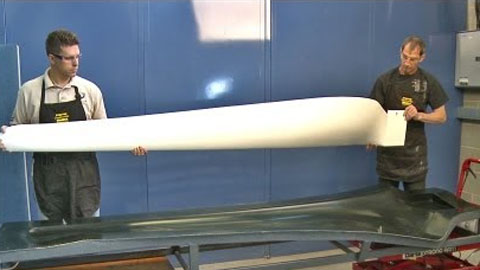
Resin Infusion Demo: How To Make Wind Blades
In this demo, wind blades are made using resin infusion in a custom silicone vacuum bag.
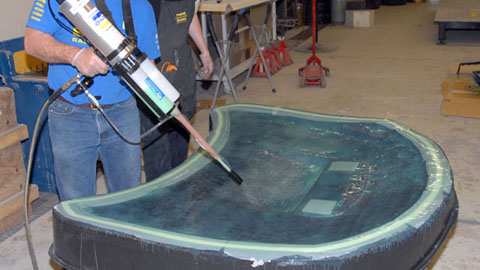
How To Create a Vacuum Bag Using EZ~Spray™ Silicone 20
EZ~Spray® Silicone 20 Spray Rubber is made especially for dispensing through the EZ~Spray® Jr....
