Plasti-Paste™ II
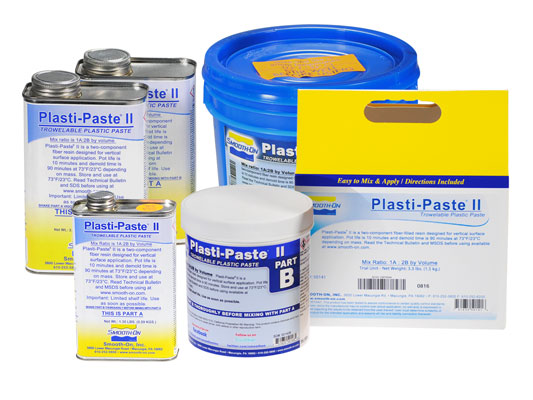
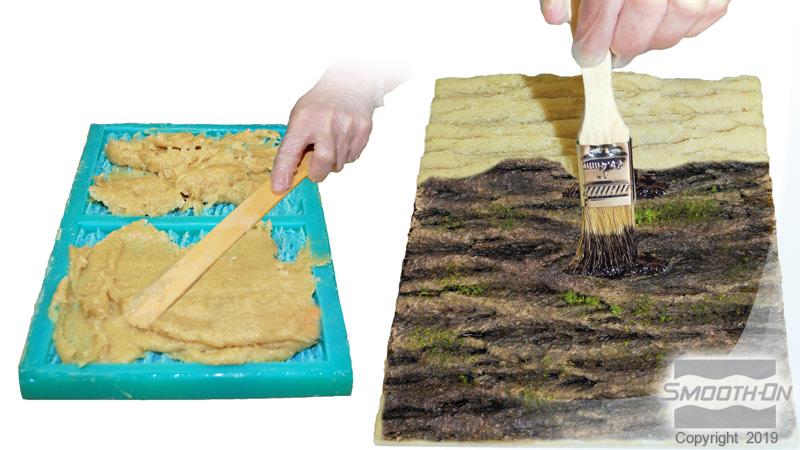
New Plasti-Paste™ II is a two component fiber-filled resin that is designed for vertical surface application. This no-odor formulation is an improved version of our original Plasti-Paste™ formula, and the cured product is different in the following ways:
- Plasti-Paste II is now phthalate free.
- Cured plastic can be painted (original Plasti Paste™ can not)
- It is harder, more rigid with better heat resistance.
Part A is a liquid and Part B is a paste. New Mix Ratio is 1A: 2B by volume (62A:100B by weight). Pot life is 10 minutes at room temperature depending on mass. Demold time (can be handled) is about 90 minutes at room temperature depending on mass. Full cure; 24 hours at room temperature. Cure time can be accelerated by applying heat.
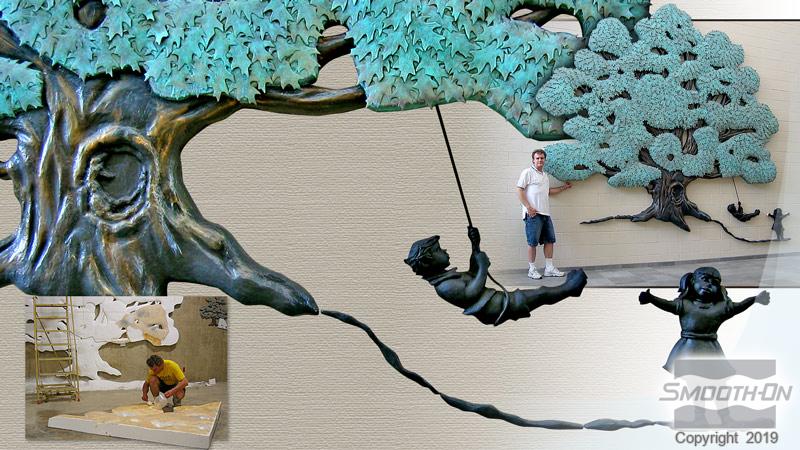
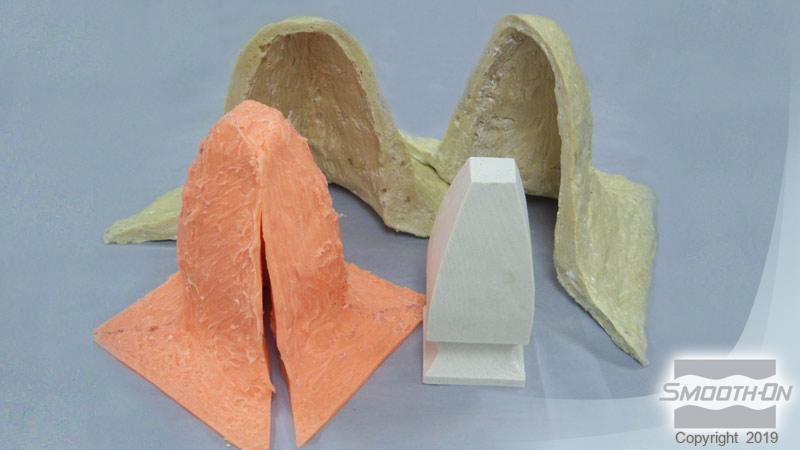
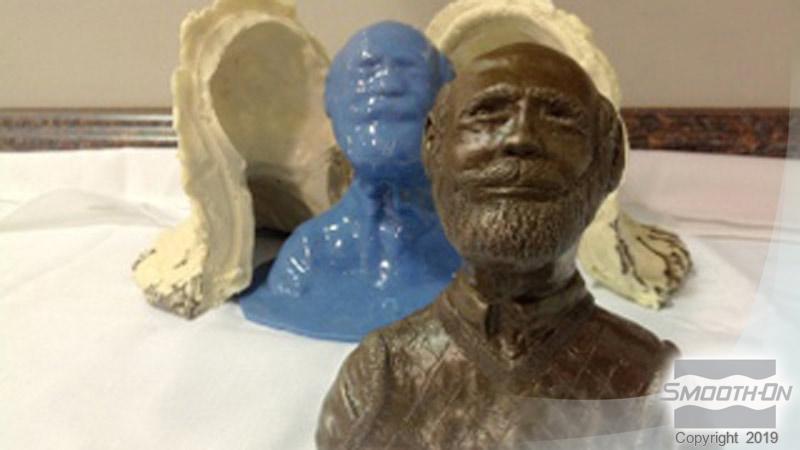
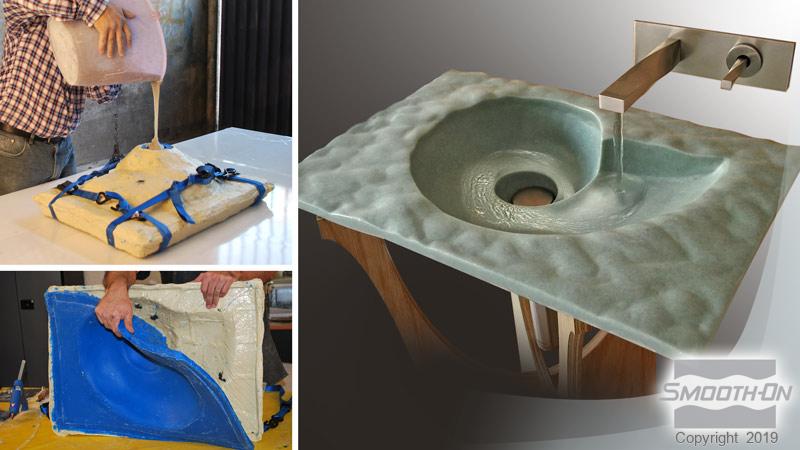
Mixed material holds a vertical surface without sagging and cures to a strong, durable and lightweight plastic. Liquid material can be pigmented with So-Strong™ color tints from Smooth-On. This plastic can be used for creating themed environments or special effects, used as a “mother mold” material to reinforce rubber molds and a variety of other applications. This plastic is also a powerful adhesive and can be used as a repair material for a variety of industrial applications. Cured plastic can be sanded, machined and painted with acrylic enamel paints.
Instructions
Preparation – Materials should be stored and used in at room temperature (73° F / 23° C). This product has a limited shelf life and should be used as soon as possible. Mixing should be done in a well-ventilated area. Wear safety glasses, long sleeves and rubber gloves to minimize contamination risk. If making a 2 or more piece mother mold, apply appropriate shim apparatus to rubber mold exterior.
Because no two applications are quite the same, a small test application to determine suitability for your project is recommended if performance of this material is in question.
Applying A Release Agent – This product is adhesive and will bond to many surfaces. A sealer followed by a release agent is necessary to facilitate demolding when applying as a mother mold over a cured mold rubber. Use Sonite™ Wax followed by a coating of Universal™ Mold Release or Ease Release™ 200 release agent. A liberal coat of release agent should be applied onto all surfaces that will contact the plastic. You can also apply aluminum foil as a barrier over the surface followed by an application of Mold Release agent.
PRE-MIX Part B Before You Start – Part B is a thick paste containing oil that needs to be pre-mixed before being dispensed into measuring container. Dig deep to re-disperse oil & paste components that may have separated.
Measuring – The components of Plasti-Paste™ II requires two different sized containers. The first will be used for measuring out amounts of Part A and Part B. The second should be large enough to contain both components and allow thorough mixing. IMPORTANT: Shelf life of Part A (Yellow Container) is reduced after opening. Remaining product should be used as soon as possible. XTEND-IT™ Dry Gas Blanket will prolong shelf life of unused liquid urethanes.
Mixing – Mix Ratio is 1A:2B by volume (62A:100B by weight). (Step 1) Fill measuring container to the top with Part B paste, making sure to eliminate any air voids. Level off the top of the container and remove any excess material. The paste should then be thoroughly emptied into a larger container that will act as your mixing container. Repeat As Necessary. (Step 2) Fill the measuring container to the top with Part A liquid and empty into mixing container. Mix thoroughly for 2-3 minutes making sure that you scrape the sides and bottom of the mixing container several times. Eliminate color streaks. If adding So-Strong™ color tints, pre-mix color with the Part B before adding Part A.
Mixing Large Batches - A ‘Turbine’ mechanical mixer attached to a power drill will make mixing large batches of material much easier.
IMPORTANT: Shelf life of product is reduced after opening. Remaining product should be used as soon as possible. Immediately replacing the lids on both containers after dispensing product will help prolong the shelf life of the unused product. XTEND-IT™ Dry Gas Blanket (available from Smooth-On) will significantly prolong the shelf life of unused liquid urethane products.
Applying – Mixed material thickens quickly and pot life is limited. Do not delay between mixing and applying. To increase working time, spread entire container contents over rubber mold surface and cover and spread mixture to uncovered areas. Apply uniformly with spatula over mold surface. Material will adhere to itself if additional layers are needed. Apply at least 3/8” (1 cm) thickness, making sure rubber mold is thoroughly covered. For maximum strength and heat resistance, ½” (1.27 cm) thickness is recommended. Large molds may require added thickness for support shell stability. Supports (wood or metal) may be embedded for added stability and handling. Prevent a jagged surface; Final layer of Plasti-Paste™ II can be smoothed by wiping solvent (denatured alcohol or acetone) onto surface with gloved hand.
Making A Two Piece Shell – Plasti-Paste™ II will bond to most surfaces and itself tenaciously. A barrier coat of paste wax followed by Universal™ Mold Release applied to all surfaces is necessary to prevent adhesion. Applying aluminum foil to the contours of all surfaces followed by Universal™ Mold Release will also prevent adhesion.
If You Want To Paint Cured Plastic – For best results, measure 62 Parts A + 100 Parts B by weight using a gram scale.
Curing – Plastic will be hot immediately following cure. Let cool to room temperature before handling. Material will develop handling strength and can be handled in about 90 minutes depending on mass. At this point, it is stable enough to demold, re-assemble over rubber mold and make a casting (hold 2 or more piece assemblies together with elastic bands, mold straps or bolts). Large sections should be bolted together to minimize distortion. Full strength develops in 24 hours.
Heat Resistance – Fully cured plastic with a minimum thickness of ½” (1.27 cm) will resist temperatures up to 130°F/55°C. To improve heat resistance to 158°F / 70°C, post cure material at 150°F/65°C for 16 hours.
If machining or sanding cured plastic, wear NIOSH approved mask to prevent inhalation of residual particles.
Painting – Make sure surface is clean and free of release agents or other contaminants. Cured plastic can be painted and/or primed and then painted with acrylic enamel paints. Let paint fully dry before putting part into service.
Storage – For best storage results, cast into rubber mold with a gypsum plaster or other dimensionally stable material, assemble mold inside the Plasti-Paste™ II support shell and store assembled molds on a level surface indoors at room temperature in a dry place.
Related Categories: Urethane Resins
Related Series: Plasti-Paste™ – Trowelable Plastic Paste
How-To Articles
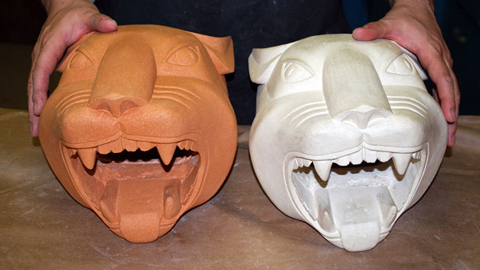
How To Make a Brush-On Mold of a 3D Hollow Model
This step by step gallery demonstrates how a challenging mold of a puma head will be made using Smooth-On's Rebound 25 brush-on silicone rubber...
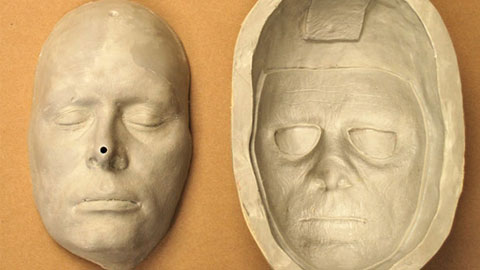
How To Create a Urethane Resin Makeup Prosthetic Mold
This sequence outlines the construction of a mold to cast silicone f/x makeup appliances.
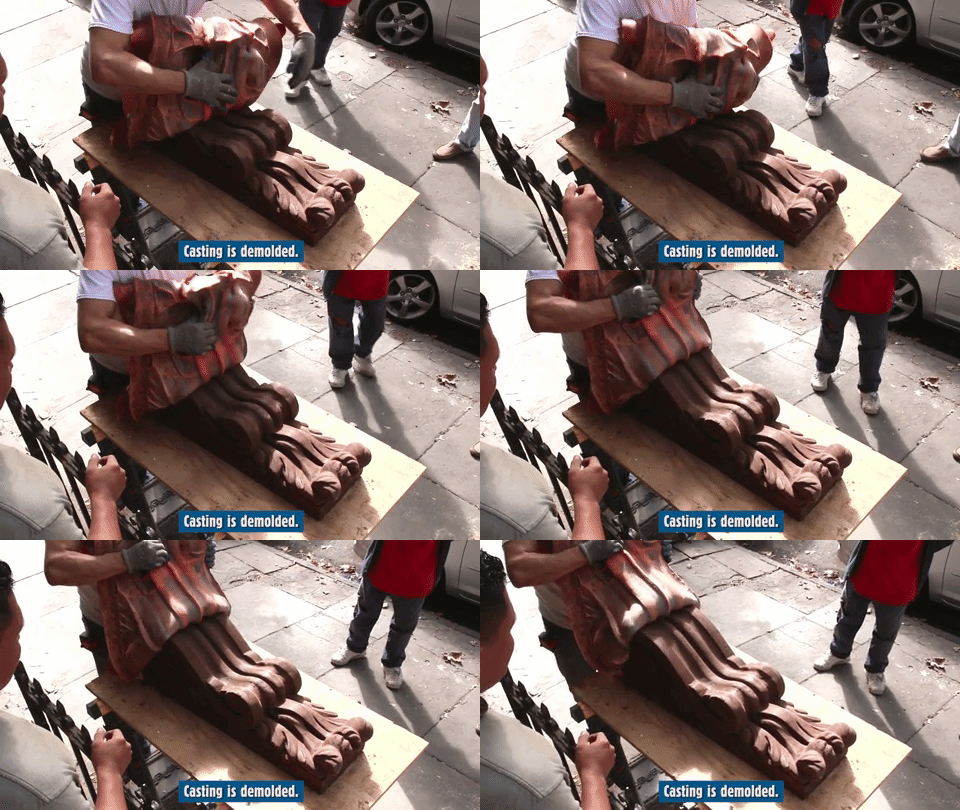
How To Make an Architectural Corbel Restoration Using Rebound 25
Watch how to make a mold of a corbel for an architectural restoration project in Brooklyn NY.
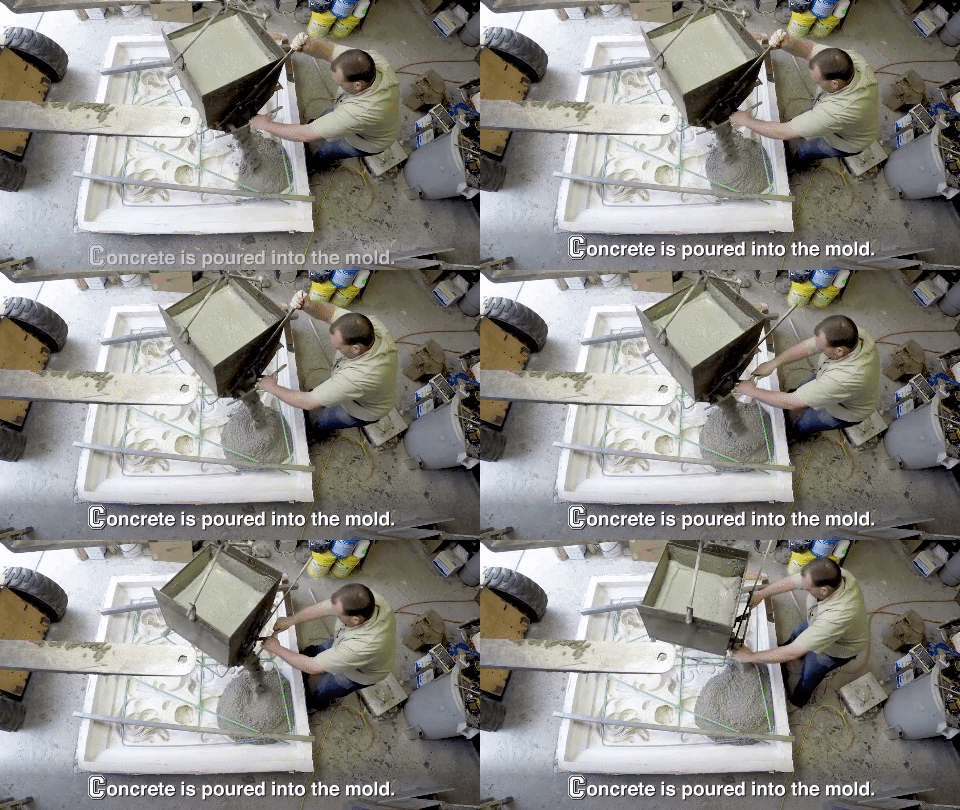
How To Restore an Historic Concrete Seal at Princeton University
Watch how John Paolini, from Paolini Cast Stone, restored an historic concrete seal
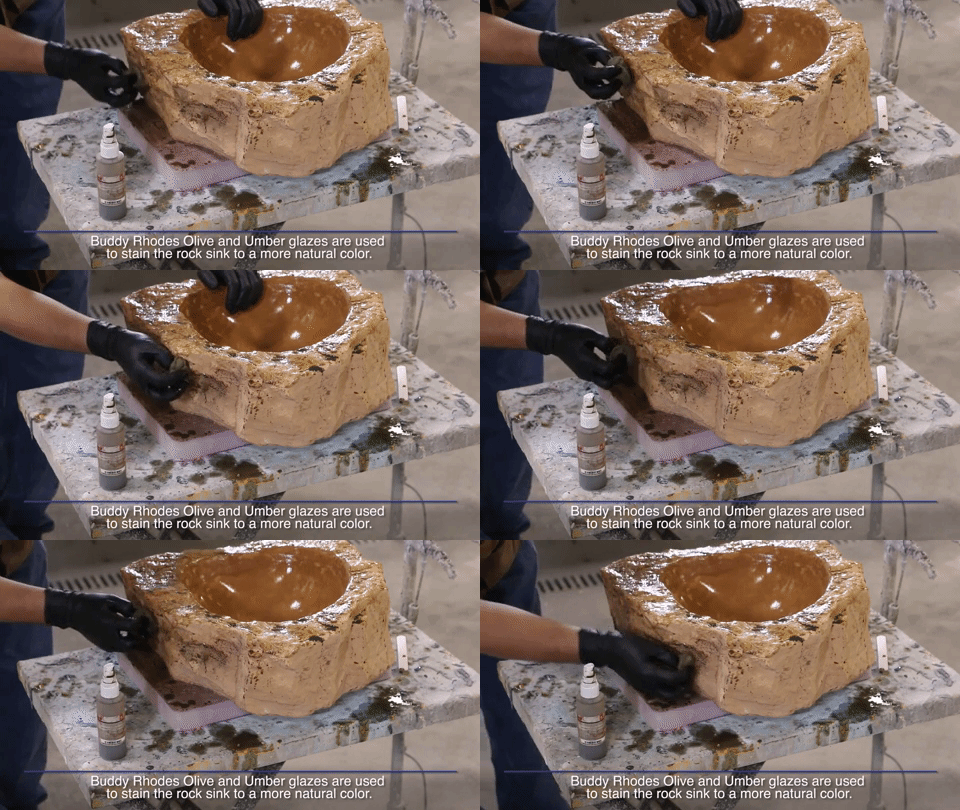
How to Make a Mold of a Rock for a Concrete Sink
Learn how to make a mold of a small boulder using Rebound 25 brush on silicone rubber.
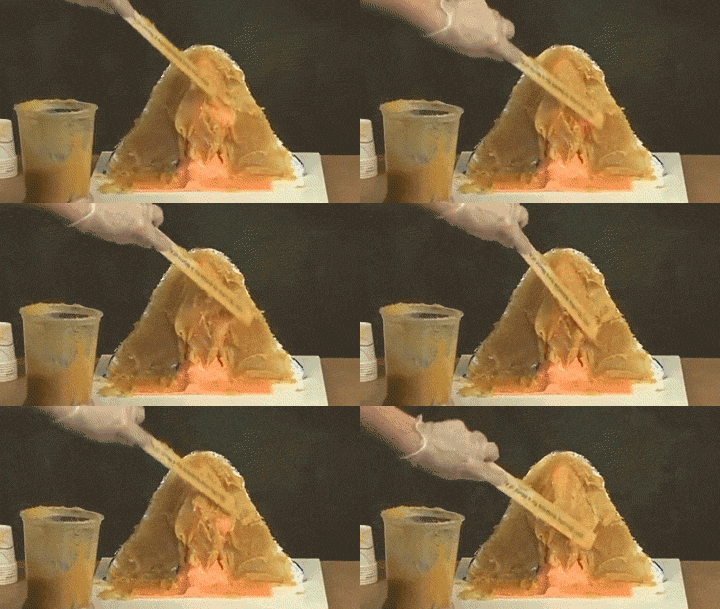
How To Make a Support Shell for a Brush-On Mold Using Plasti-Paste™
How to make a support shell for a brush on silicone mold using Plasti-Paste trowelable plastic.
