Smooth-Cast™ 327
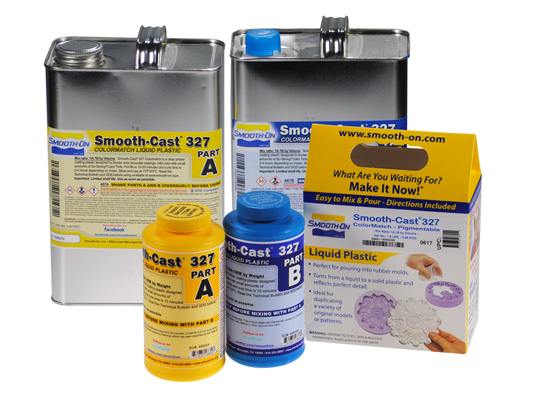
The Smooth-Cast™ 325, 326 & 327 ColorMatch™ Series plastics are fast-cast resins that were developed specifically for adding color pigments and fillers to achieve true color representation or filler effect. The ColorMatch™ Series is formulated “color neutral”. Small amounts of pigment will yield accurate, vivid colors from cured castings using So-Strong™ tints or Ignite™ color pigments. The ColorMatch™ Series offers the convenience of a 1A: 1B mix ratio by volume and has a very low viscosity. Demold times range from about 10 minutes to 2-4 hours (depending on product, mass and mold configuration). Note: Large mass castings will get very hot and shrink more, depending on mold configuration.
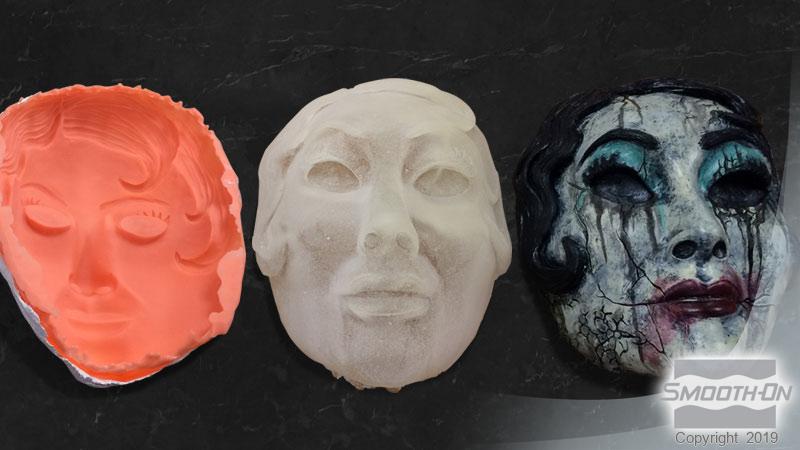
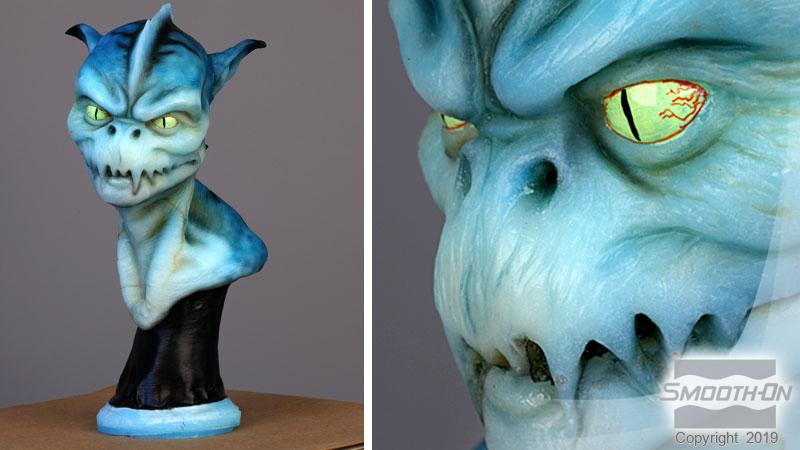
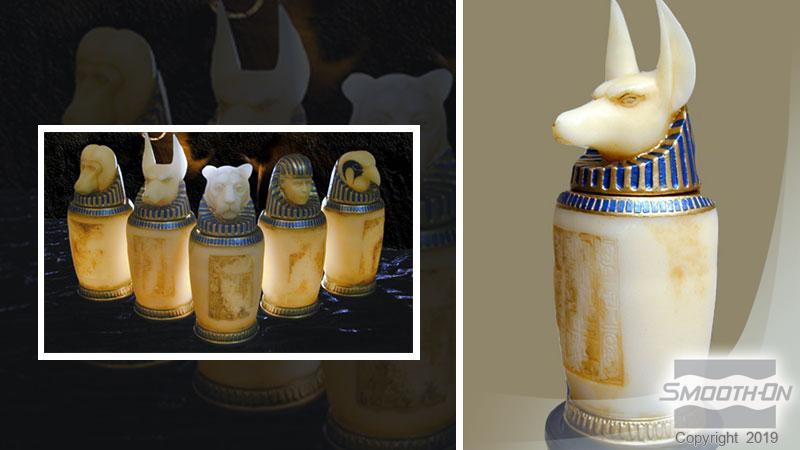
The ColorMatch™ Series also readily accept fillers (such as URE-FIL™ 3 from Smooth-On). Applications for the ColorMatch™ Series plastics include making pigmented prototype models or figures, special effect props, reproducing small to medium size sculptures, decorative jewelry, etc.
› Click here for more Smooth-Cast™ resin products.
Instructions
Safety - Materials should be stored and used in a warm environment (73° F / 23° C). These products have a limited shelf life and should be used as soon as possible. All liquid urethanes are moisture sensitive and will absorb atmospheric moisture. Mixing tools and containers should be clean and made of metal, glass or plastic. Mixing should be done in a well-ventilated area. Wear safety glasses, long sleeves and rubber gloves to minimize contamination risk.
Applying A Release Agent - A release agent is necessary to facilitate demolding when casting into or over most surfaces. Use a release agent made specifically for mold making (Universal™ Mold Release or Mann’s Ease Release™ 200 available from Smooth-On or your Smooth-On distributor). A liberal coat of release agent should be applied onto all surfaces that will contact the plastic.
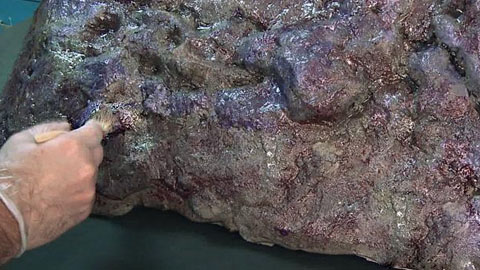
IMPORTANT: To ensure thorough coverage, apply release and brush with a soft brush over all surfaces. Follow with a light mist coating and let the release agent dry for 30 minutes. Smooth-On silicone rubber molds usually do not require a release agent unless casting silicone into the mold. Applying a release agent will prolong the life of the mold.
IMPORTANT: Shelf life of product is reduced after opening. Remaining product should be used as soon as possible. Immediately replacing the lids on both containers after dispensing product will help prolong the shelf life of the unused product. XTEND-IT™ Dry Gas Blanket (available from Smooth-On) will significantly prolong the shelf life of unused liquid urethane products.
Pigmenting - Pre-Mix Pigment Or Fillers With Part B - For consistent results, pigment or fillers should be added by weight each time. Some “test” castings may have to be made until desired affect is achieved. Add desired amount of pigment or filler to ColorMatch™ Part B and blend thoroughly to a uniform consistency before adding Part A.
NOTE: When adding SO-Strong™ RED tint to Smooth-Cast™ 326 or 327, the color will darken and change. For a better match when using SO-Strong™ RED, use Smooth-Cast™ 325 as your casting resin. This is only an issue with SO-Strong RED, all other SO-Strong™ colors will behave normally.
How Much Pigment or Filler? Pigment Example: Generally, 0.5% - 1% Smooth-On pigment added by weight of Part B will yield rich, vibrant color. For translucent effect, add 0.1% pigment. Metal Cold Casting: Watch our Metal Cold Casting How-To Video. Because end-user requirements vary for desired finished effect, we can not offer all pigment or filler loading percentage possibilities. Again, “test” castings may have to be made until desired effect is achieved.
Measuring & Mixing - Liquid urethanes are moisture sensitive and will absorb atmospheric moisture. Mixing tools and containers should be clean and made of metal, glass or plastic. Materials should be stored and used in a warm environment (73°F/23°C). Stir or shake both Part A & Part B thoroughly before dispensing. After dispensing equal volumes of Parts A and B into mixing container (115A:100B by weight) and mix thoroughly. Stir deliberately making sure that you scrape the sides and bottom of the mixing container several times. Be careful not to splash low viscosity material out of the container.
Pouring - For best results, pour your mixture in a single spot at the lowest point of the containment field and let the mixture seek its level. This will help minimize air entrapment.
Curing - Important: Use this product with at least room size ventilation or in proximity to a forced outlet air vent and do not inhale/breath fumes. Fumes, which may be visible with a significant mass concentration, will quickly dissipate with adequate ventilation. Castings with significant mass may be hot to the touch and irritate skin immediately following cure. Let casting cool to room temperature before handling.
Demold time of the finished casting depends on mass and mold configuration. Low mass or thin-walled castings will take longer to cure than castings with higher mass concentration.
If making rotational or hollow castings, backfilling with a rigid foam (Foam-iT! 5 or other) will provide lightweight reinforcement. Foam backfilling is recommended if castings will be subjected to temperatures above 85°F / 30°C.
Post Cure - Castings will reach “full cure” faster and achieve maximum physical properties if post cured. Allow material to cure for recommended cure time at room temperature followed by 4 - 6 hours at 150°F/65°C. Allow casting to come to room temperature before handling.
Performance - Cured castings are rigid and durable. They resist moisture, moderate heat, solvents, dilute acids and can be machined, primed/painted or bonded to other surfaces (any release agent must be removed). If machining cured material, wear dust mask or other apparatus to prevent inhalation of residual particles. Castings can be displayed outdoors after priming and painting. Unpainted castings will yellow over time - more quickly when exposed to ultra-violet light.
Because no two applications are quite the same, a small test application to determine suitability is recommended if performance of this material is in question.
Related Categories: Urethane Resins
Related Series: Smooth-Cast™ Series – Low Viscosity, Easy To Use Resin
How-To Articles
How To Make a 3-D Aquarium Background Using Foam-iT!® 5
An easy way to add realism and beauty to your aquarium is to make a custom background.

Martha Stewart Makes Resin Flower Barrettes
Martha and Morgan Levine use a dipping technique to create hard barrettes and brooches using crepe paper flowers.
