How To Make a Sea Anemone Using Smooth‑On Silicone
Overview
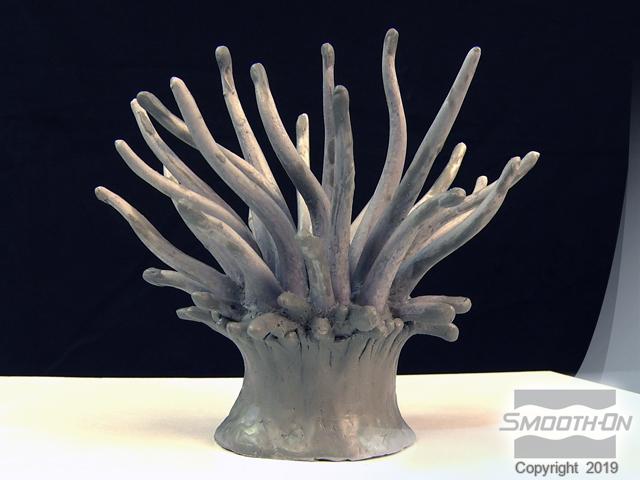
Any commercially available sea anemone that you would buy to use as an original model would not give the best representation of the sea creature. For the most realistic and unique representation, creating your own sea anemone using modeling clay is best. Sculpting this model is not as complicated a task as you might think. Proper positioning of the tentacles is key to attaining realism.
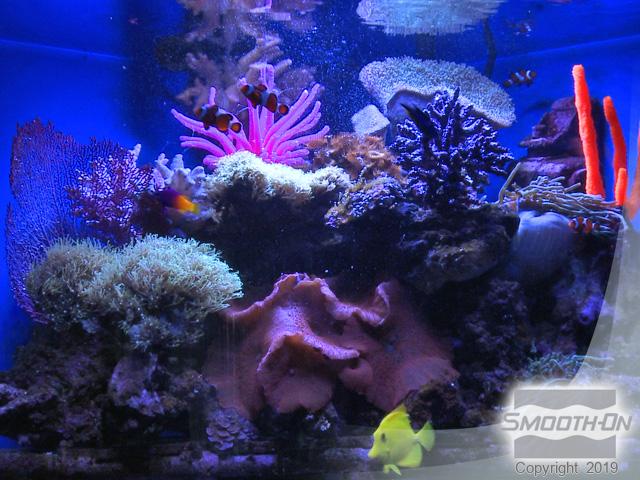
Creating your own bulb-tip sea anemone offers several advantages:
- Low-cost
- Hyper-realistic
- Lasts for many years
- One-of-a-kind
- Eliminates reef harvesting
- Maintenance-free
In the step-by-step gallery below, you will learn how to make a bulb-tip sea anemone using Smooth-On mold making and casting materials.
Materials Used in this Tutorial
- Mold Star 15
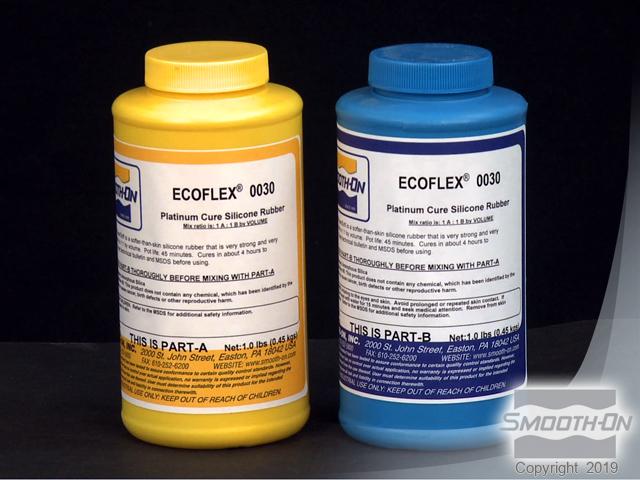
- EcoFlex 00-30
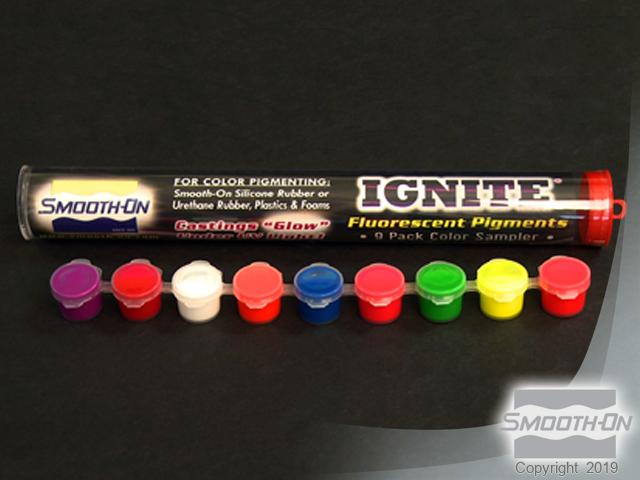
- Ignite Fluorescent Color Pigments
- Non-Sulfur Clay
- Base Board
- Plastic Container
- Hot Glue
- Scissors
- Razor Knife
- Rubber Bands
- Isopropyl Alcohol
- Dish Soap
- Vacuum Chamber
- Mixing Containers
- Stirring Sticks
Step 1: Preparing Model
First create your base. Then roll your own tentacles, using Chavant brand non-sulfur clay. Next, secure the completed sea anemone sculpt to the base board.
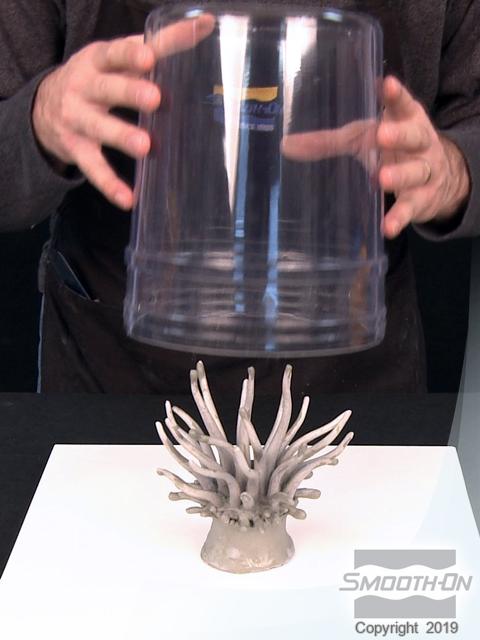
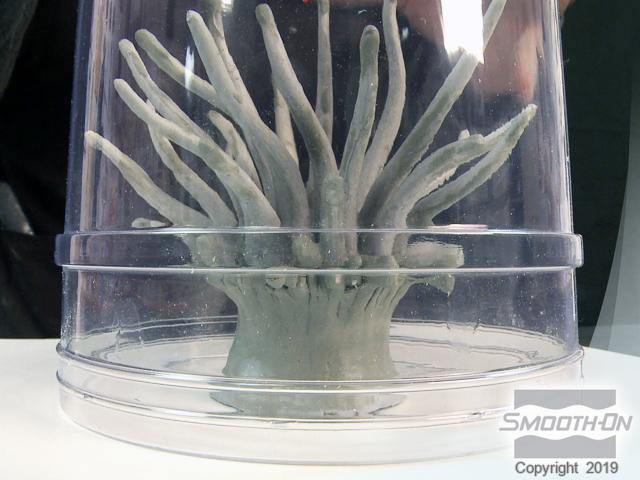
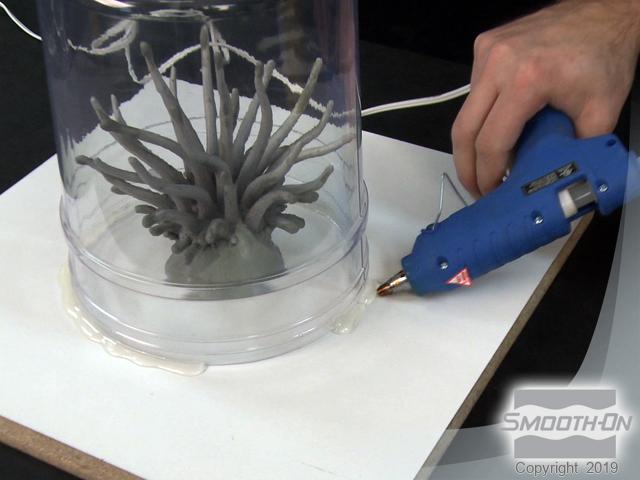
Now, surround the sea anemone sculpt with a mold wall that will give you at least 0.5'' on all sides of the mold from the edges of the tentacles. Be sure that it is centered inside the mold wall and hot glue the edges of the mold wall to the base board.
Step 2: Creating the Mold
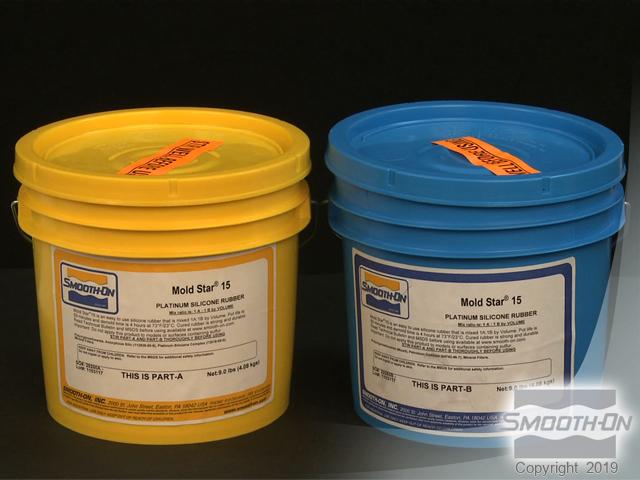
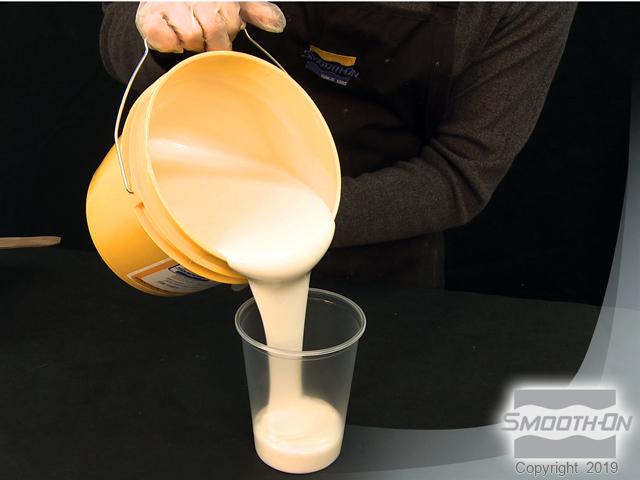
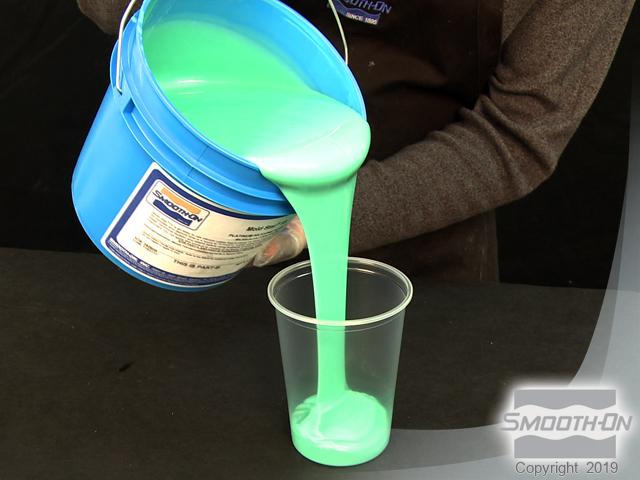
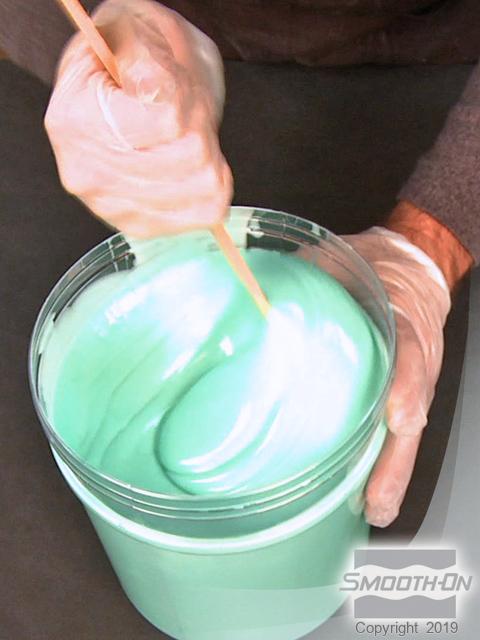
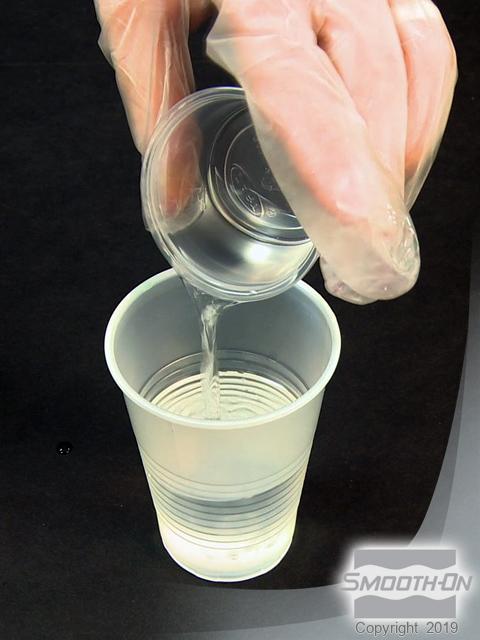
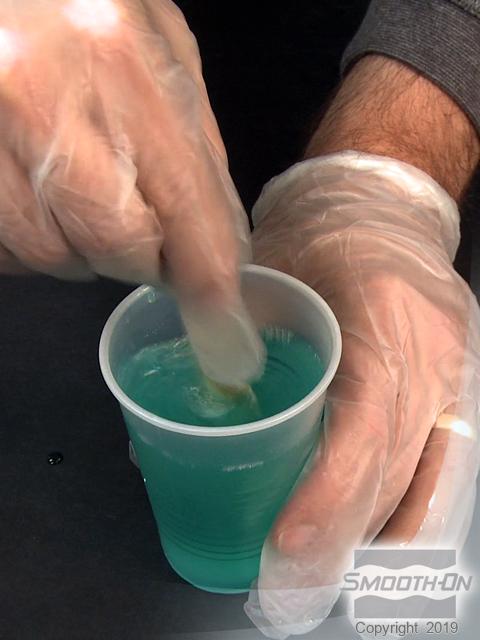
To create the mold, use Mold Star 15 silicone rubbe. It has a mix ratio of 1 part A to 1 part B by volume. Dispense part A and then seperately dispense an equal part of B. Thoroughly mix part A and B together until there are no streaks. Mold Star 15 does not require vacuum degassing.
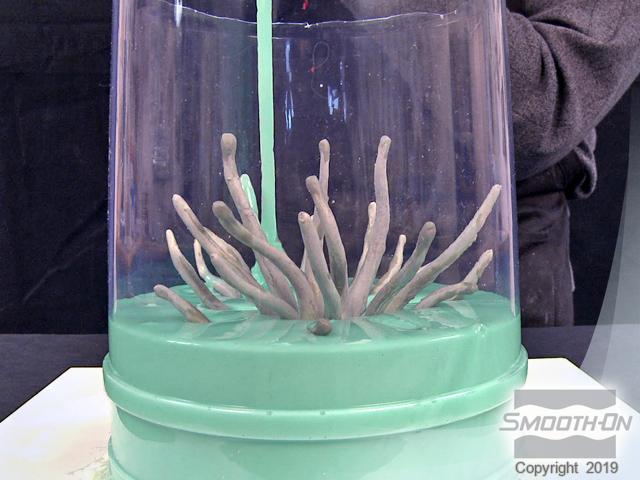
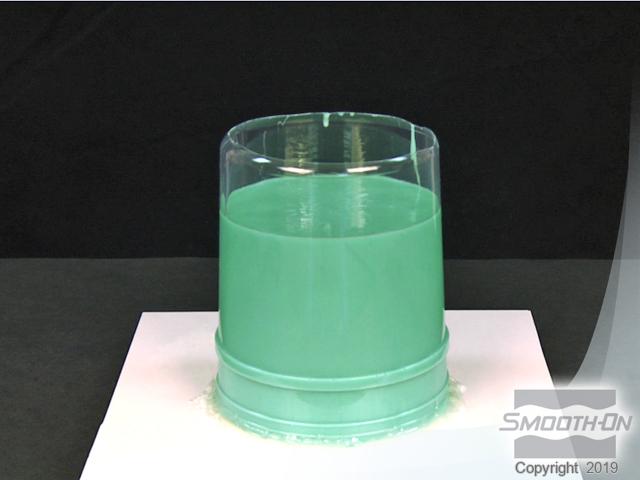
Now you can pour the rubber into the lowest part of the mold in a long, thin stream. Pour rubber in a single spot and let it rise over the model and seek its own level.
After pouring is completed, Mold Star 15 has a pot life of 50 minutes and has a cure time of 4 hours.
Step 3: Demolding Original
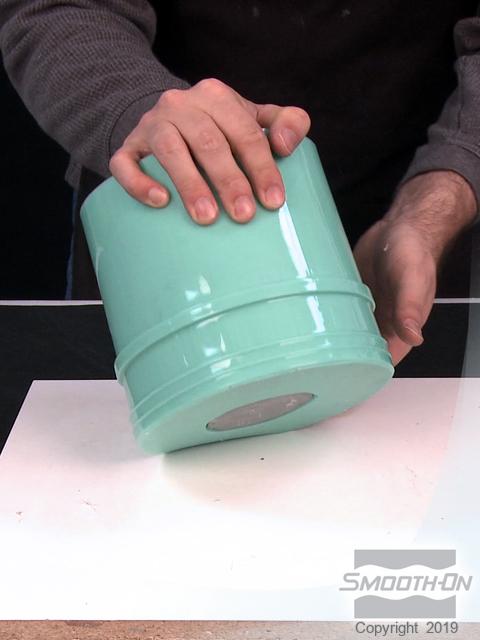
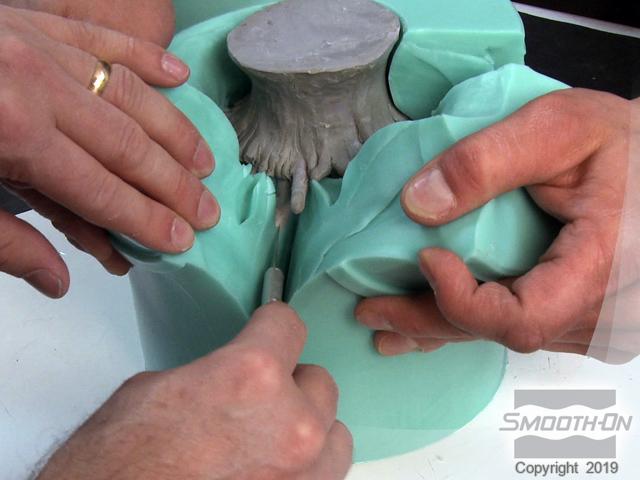
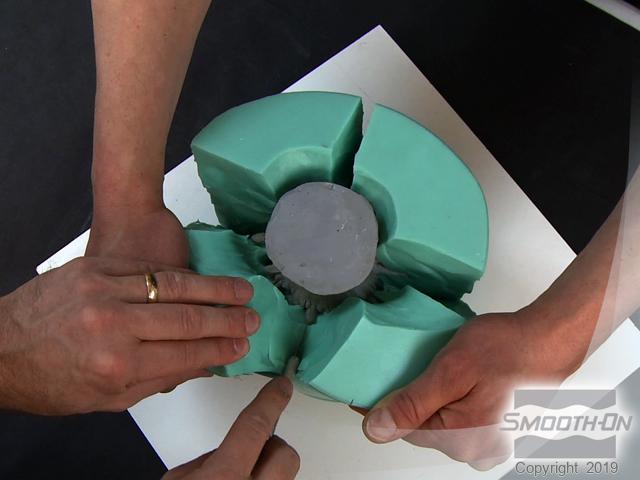
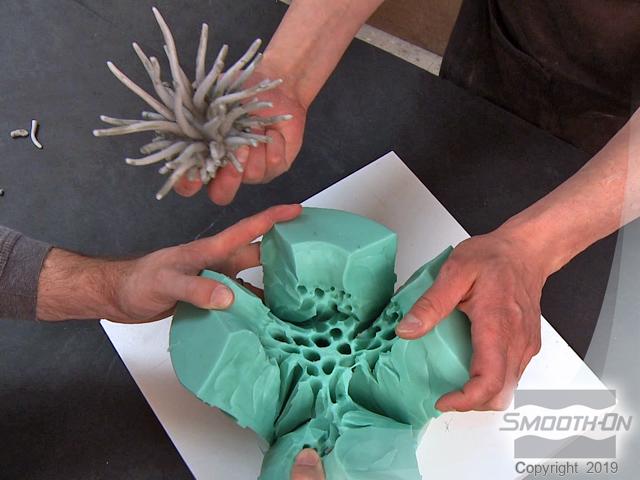
To demold your original, cut the plastic mold wall and remove it completely. Lift the entire mold to separate it from the base. You will need to cut open your mold in 4 places in order to demold your original piece. It is helpful to have a friend help hold the mold open while cutting. Continue cutting just enough so that you can demold your piece. Do not cut your mold all the way to the bottom.
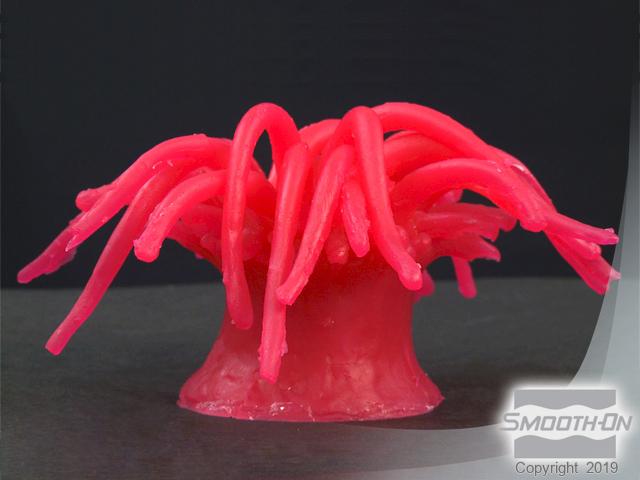
The original sea anemone has been successfully demolded and is ready for casting. All the detail has been captured by the mold rubber.
Step 4: Preparing Mold for Casting
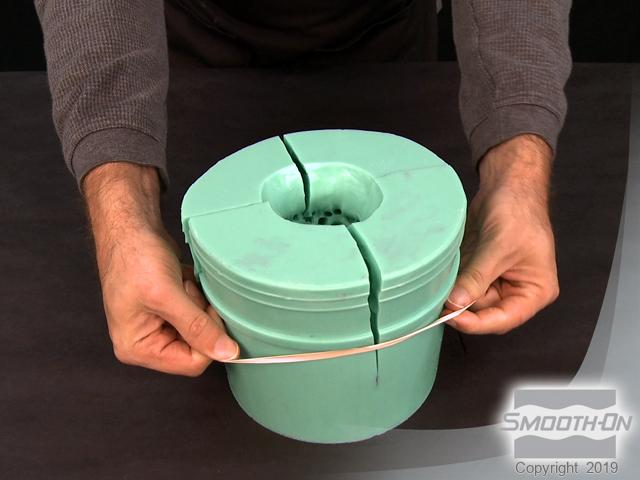
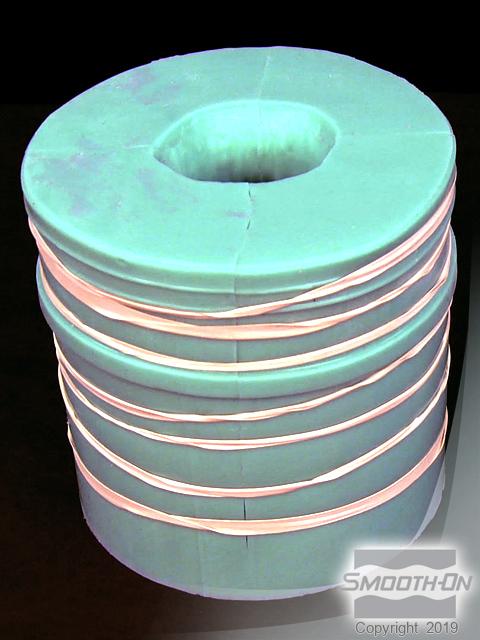
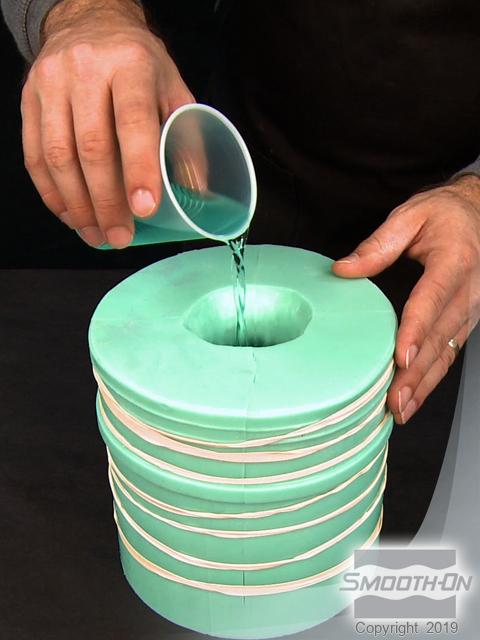
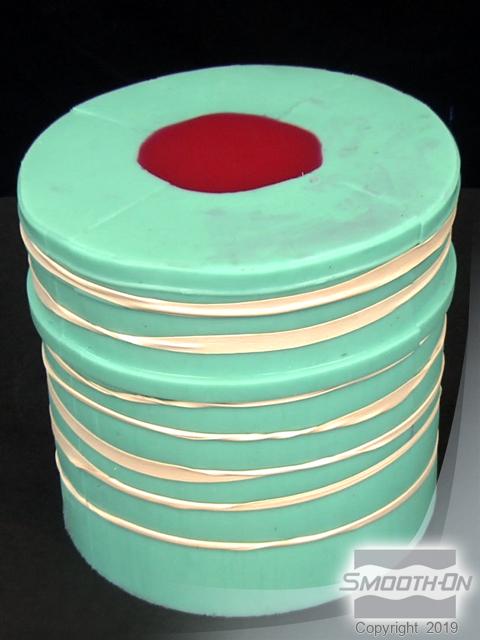
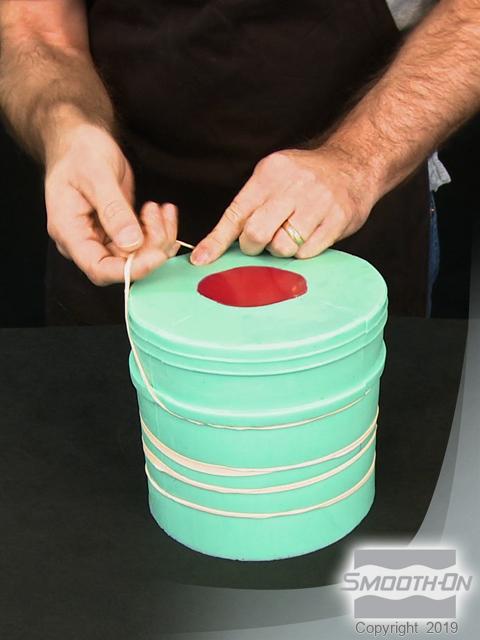
To prepare the mold for casting, align the cut seams and use rubber bands to close the mold.
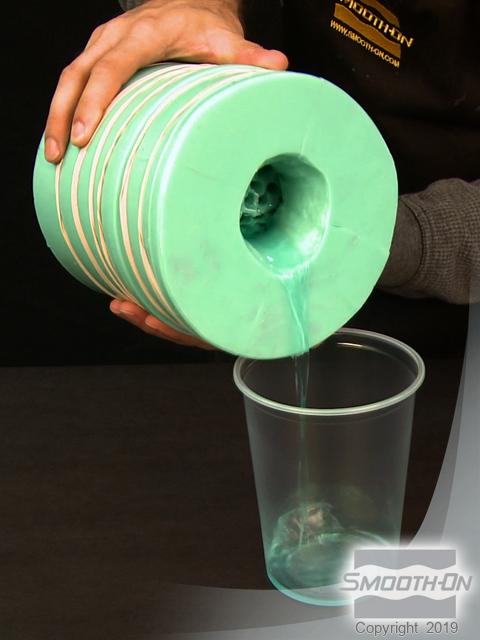
Since we will pour an EcoFlex silicone casting, we need to apply a release agent to prevent bonding. Because it will be difficult to reach all of the thin tentacle areas of the mold, a liquid release agent is your best option. Combine 2 parts isopropyl alcohol and 1 part dish washing soap. Mix the alcohol and soap together until blended thoroughly.
Rotate the mixture to thoroughly coat the tentacle cavities. Then, thoroughly drain the excess release liquid. Allow it to dry for 30 minutes before mixing and pouring your rubber casting.
Step 5: Casting EcoFlex™ 00-30 with Ignite™ Colorants
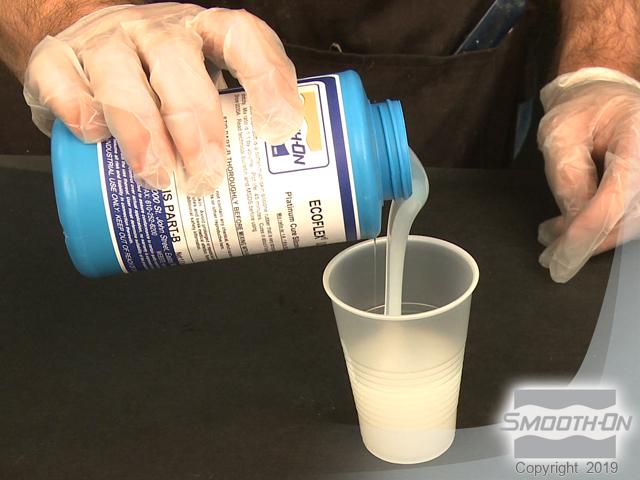
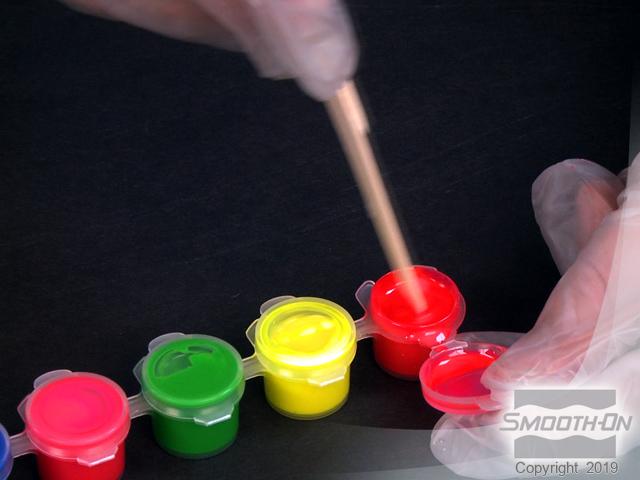
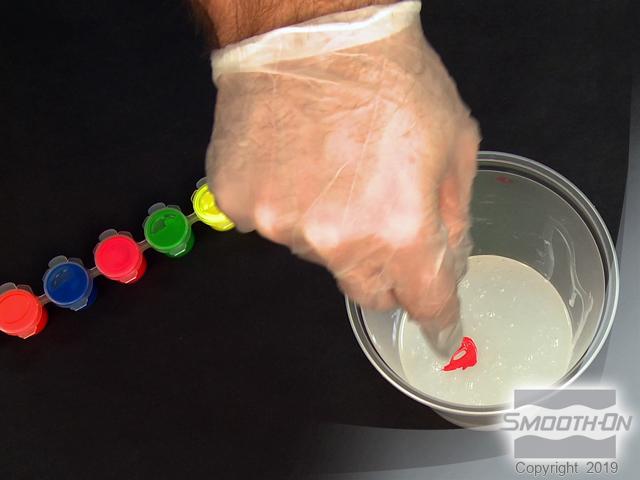
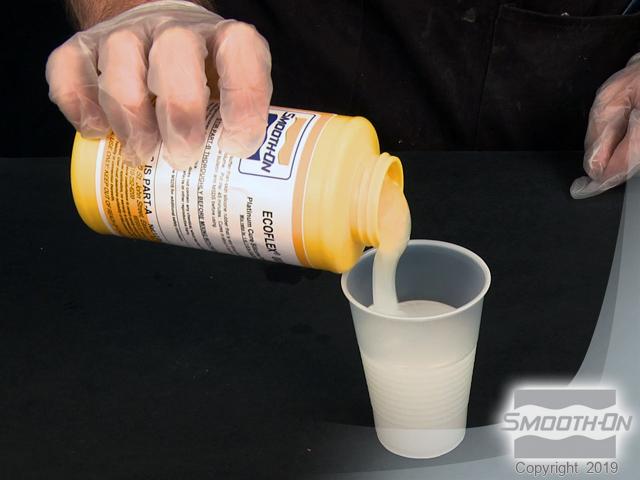
EcoFlex™ 00-30 supersoft silicone rubber will be used to make the casting. It has a mix ratio of 1 part A to 1 part B by volume. First, dispense part B and and pre-mix the Ignite™ red pigment. Then, mix the Ignite™ red into part B until there are no streaks. The pigment is concentratated so alittle goes a long way. Ignite™ fluorescent color pigments that glow under UV light are used to pigment the silicone.
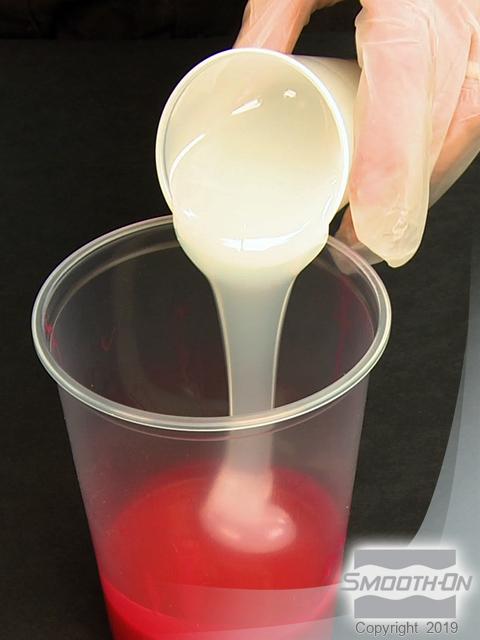
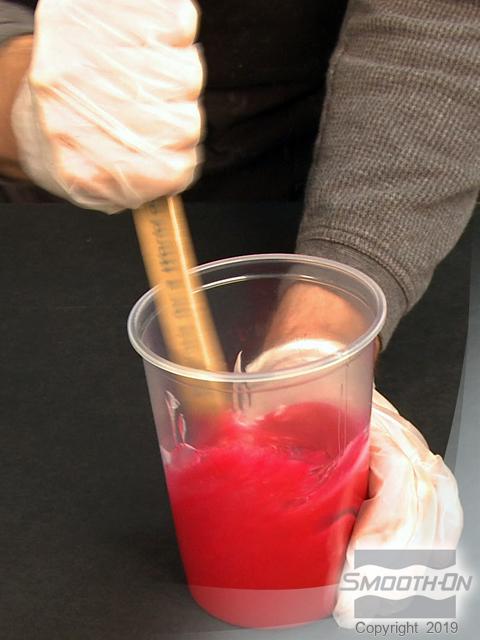
Now, dispense equal part A and pour part A into the colored part B. Thoroughly mix parts A and B together to remove all color streaks. EcoFlex™ 00-30 has a pot life of 45 minutes.
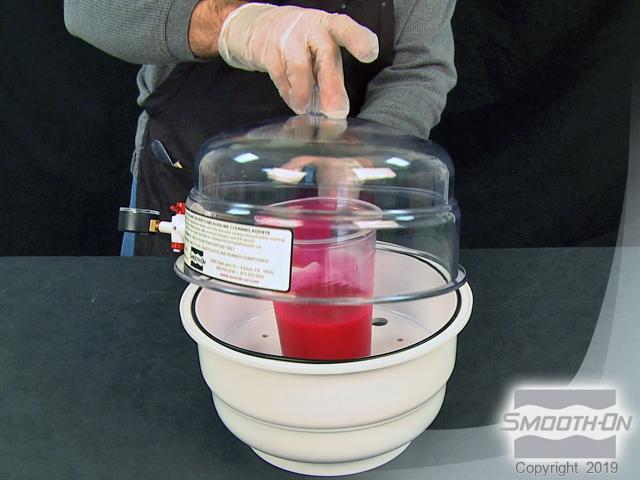
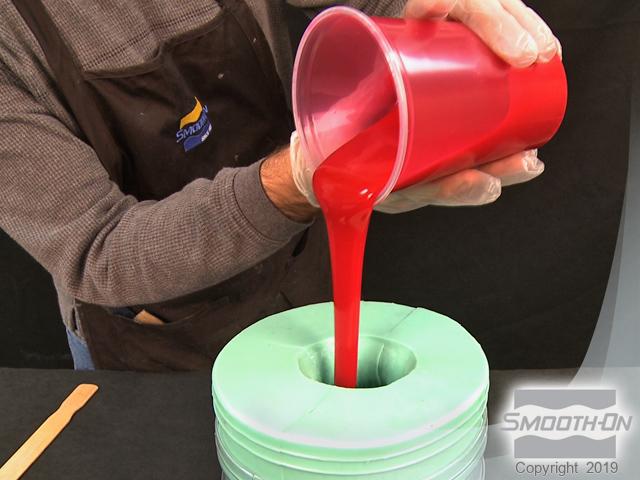
Use a vacuum chamber to vacuum out air bubbles within the silicone. The silicone will rise, break and fall. Your vacuum must pull 29 inches of mercury for complete vacuum. Then, slowly pour the vacuumed silicone into the mold cavity. Allow EcoFlex™ 00-30 to cure for at least 4 hours at room temperature (73 F).
Step 6: Demolding Ecoflex™ 00-30 Casting
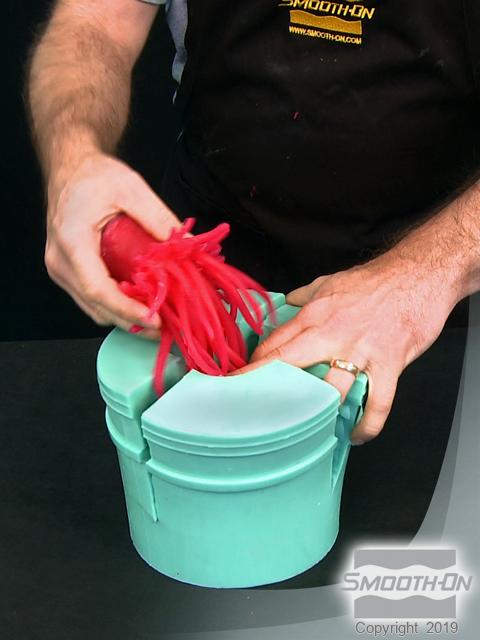
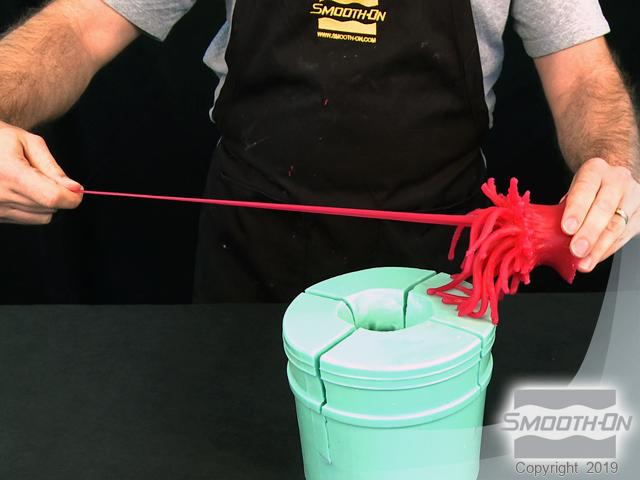
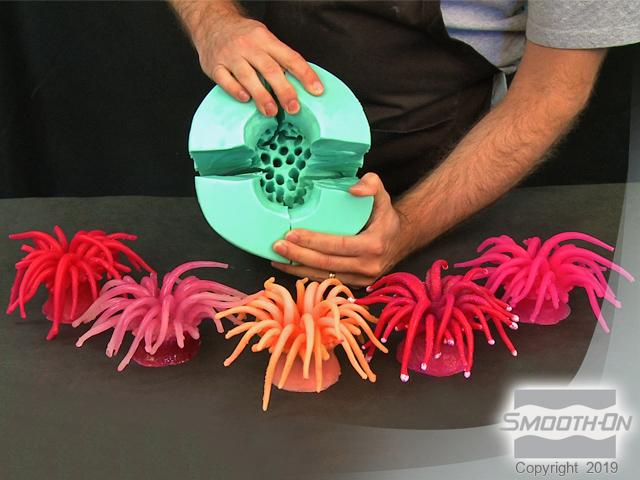
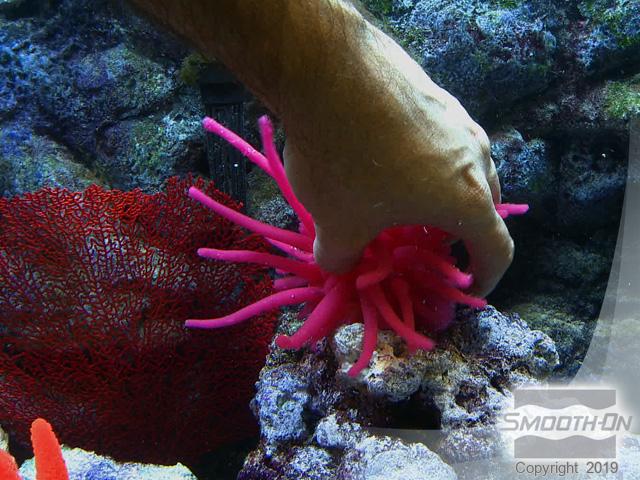
When fully cured, remove the rubber bands from the mold. Slowly pull apart the cut seams of the mold. Then, slowly pull and wiggle your casting out of the mold. The fully cured casting is life-like and vibrant.
Ecoflex™ 00-30 is soft and stretchy. You can vary and combine color pigments or paint your finished piece using Ecoflex™ 00-30 to create an infinite number of casting effects.

