How to Make a Silicone Brush On Mold of a 3D Object
Step 1: Preparing and Applying Rebound™ 25
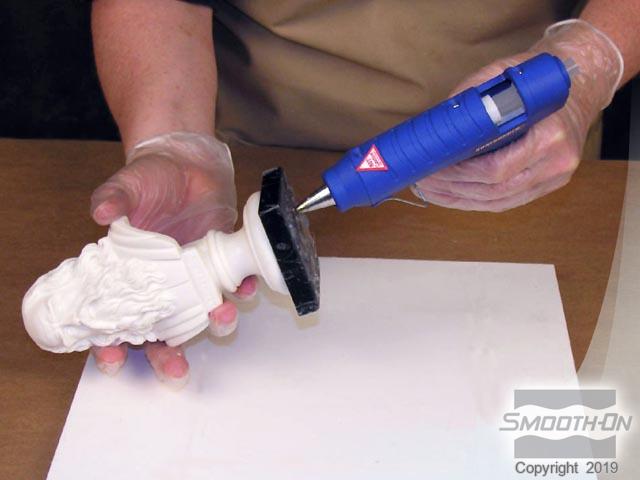
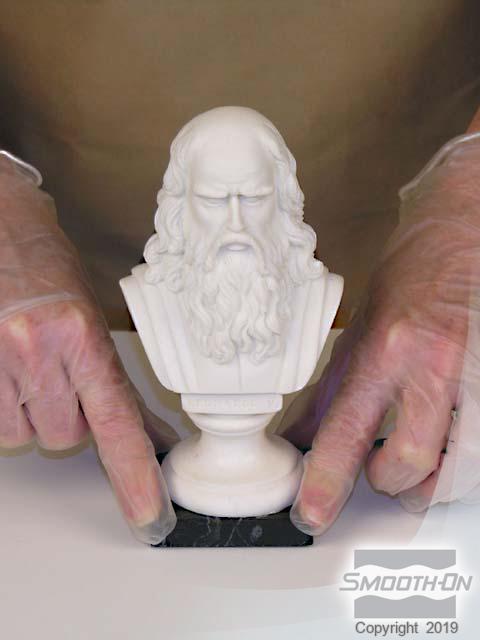
Before starting with our materials be sure to secure the original model to baseboard with a hot melt glue gun to prevent movement during the mold making process. Make sure the model is secure in center of working board.
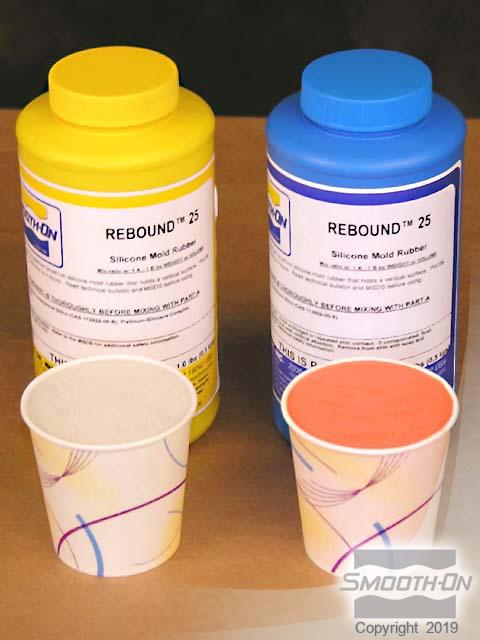
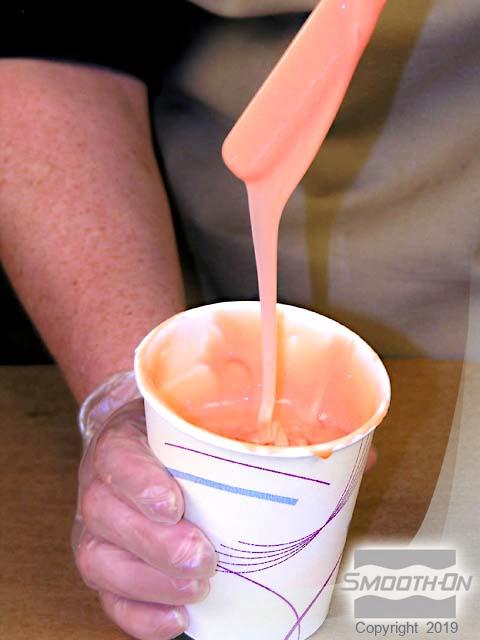
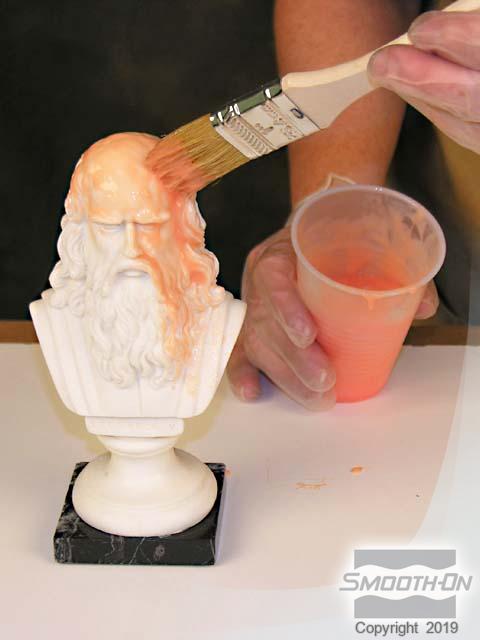
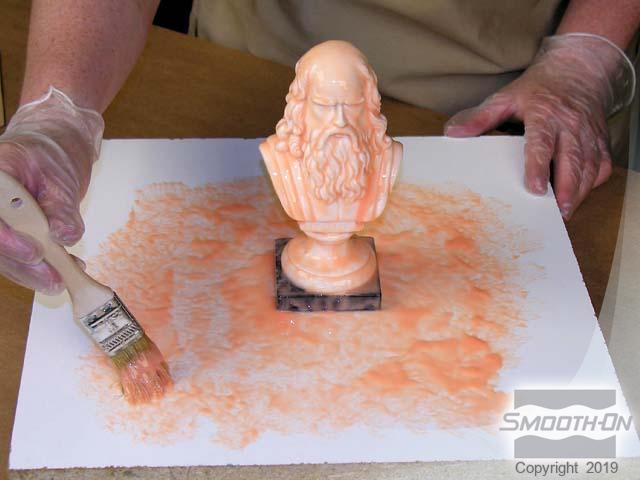
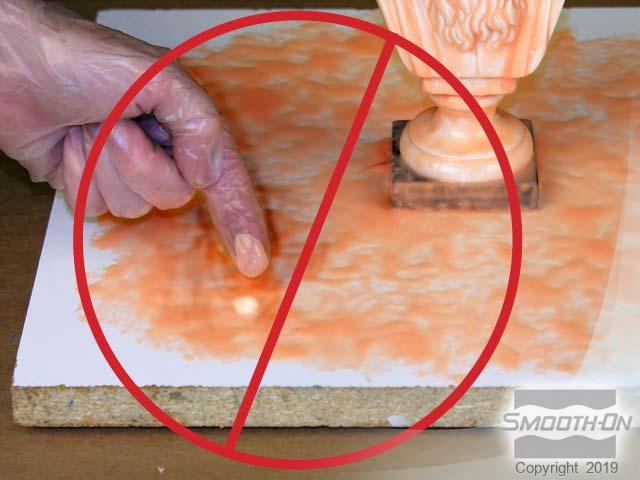
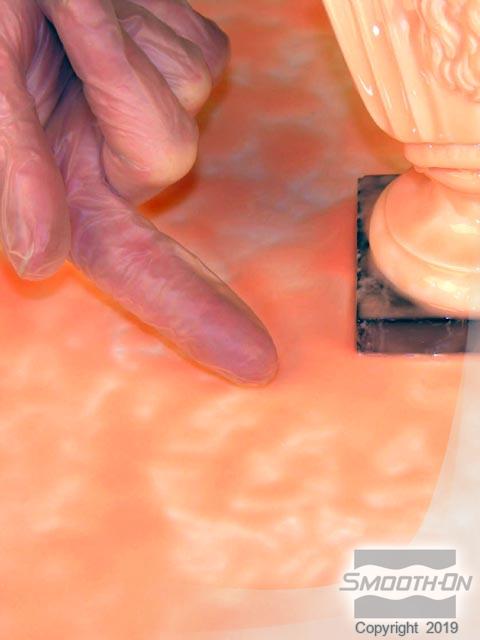
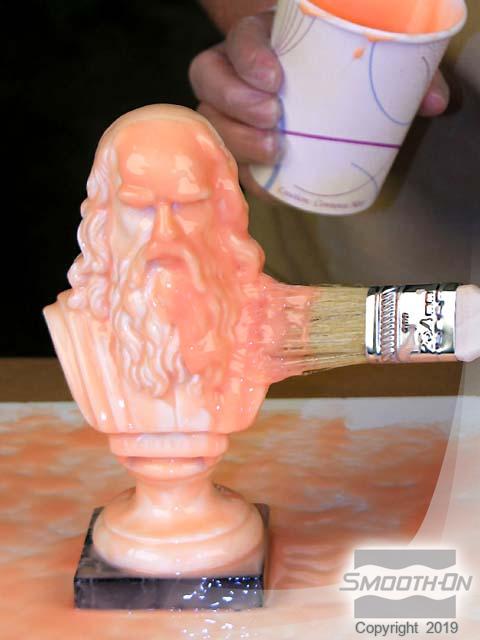
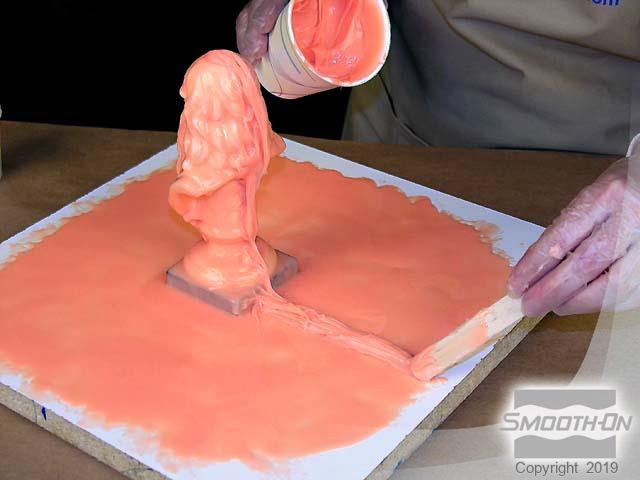
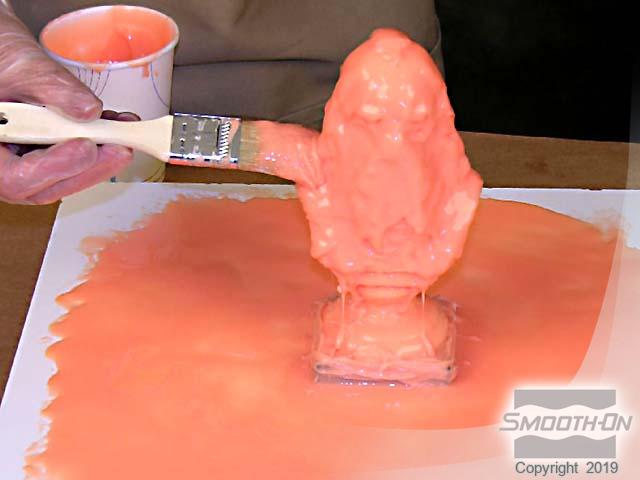
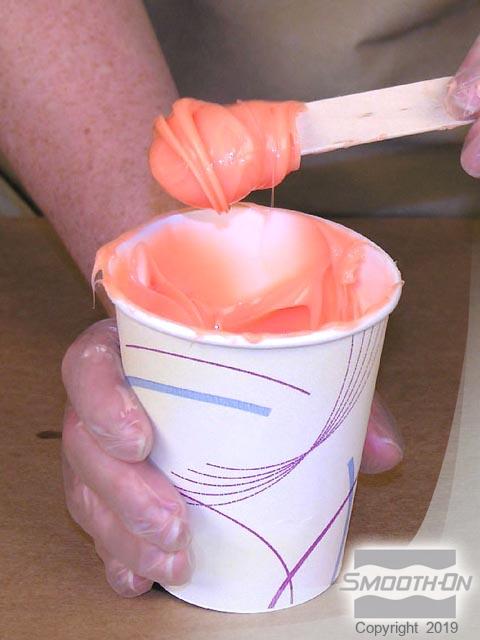
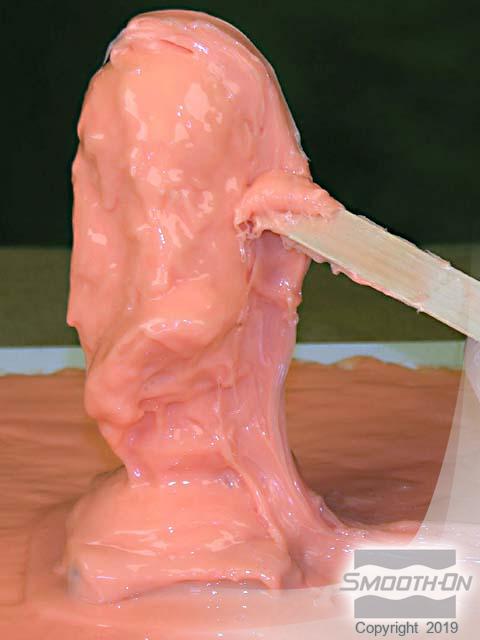
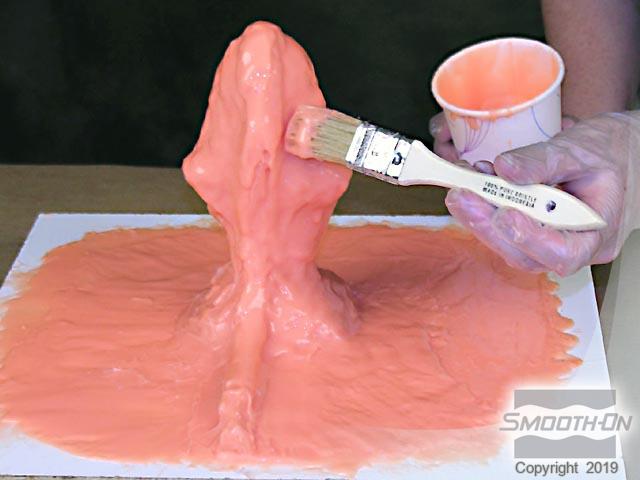
Once you are completed securing the model, dispense equal amounts of Rebound 25™ A + B into a mixing container. Mix for 3 minutes, making sure you scrape the sides and bottom of container many times eliminating all color streaks. Brush a very thin layer onto model. Work rubber into fine detail, covering the entire model and creating a 3 inch (7.62 cm) flange in all directions around model. Allow rubber to cure 60 minutes until tacky. Rubber should be sticky to the touch, does not come off onto your glove. If rubber is still wet, do not apply the next layer.
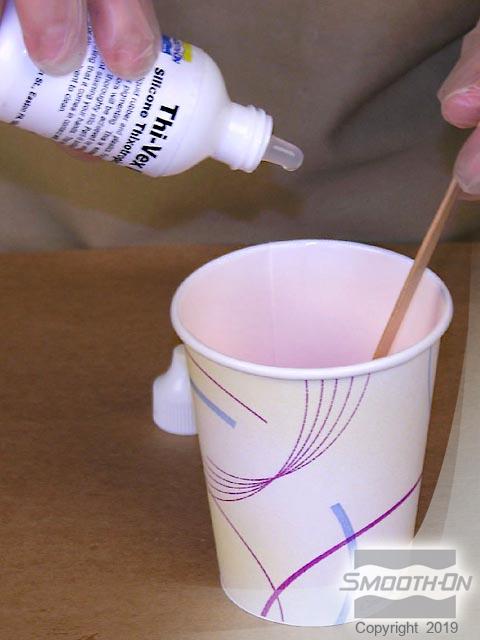
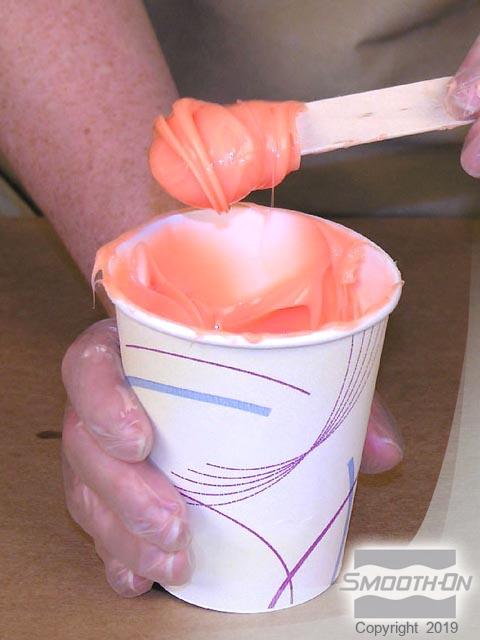
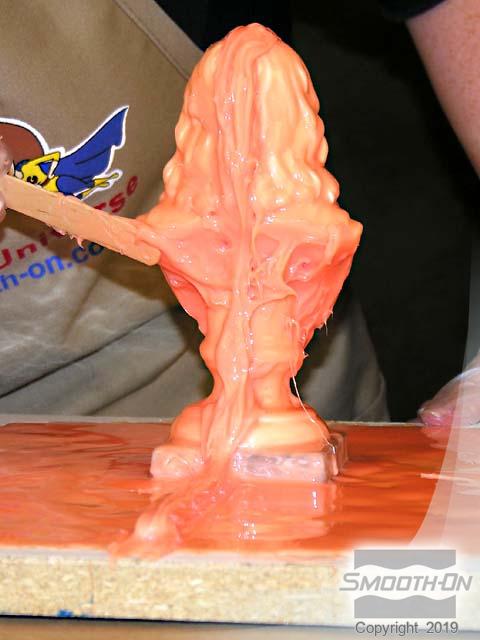
After the 1st layer is tacky. Mix and apply your second layer of Rebound™ 25. After the model and board are covered, let rubber cure for 60 minutes until tacky. Once you have given the rubber time to cure, create a "Cut Seam" layer. You can create a "Cut Seam" by measuring and mixing a small amount of Rebound™ 25 A+B and adding 4 drops of Thi-Vex thickener to every 1 oz. of mixed Rebound™ 25. The thickened rubber will then hold a vertical surface. Apply thickened rubber at the top of the model and work downward. Bring cut seam all the way out to the end of the flange. Use thickened rubber to fill undercuts.
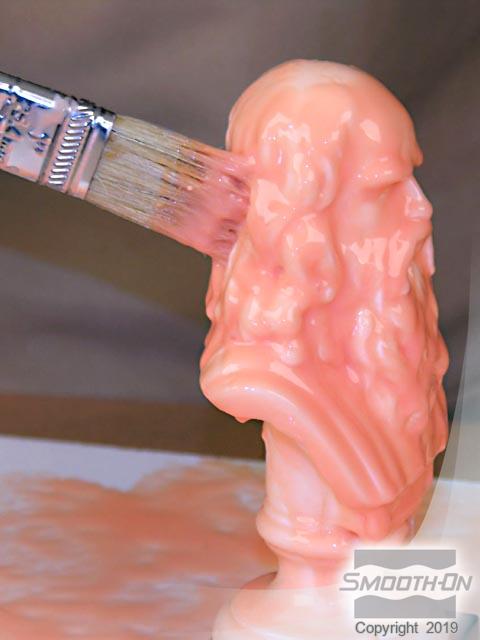
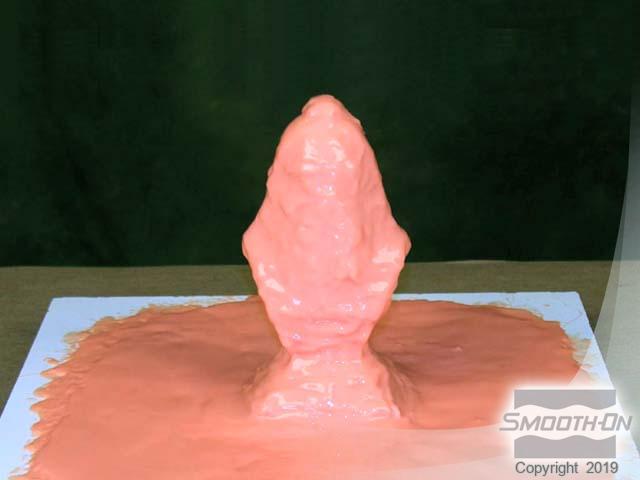
Next, mix and apply another small batch of rubber, this will be your third layer. After model and board are covered, let rubber cure 60 minutes until tacky. Mix up a small batch of thickened rubber (as you did with the "Cut Seam" Layer), and further build up “cut seam” with thicker rubber. Use thickened rubber to fill in undercuts and reduce sharp angles.
Finally you will mix and apply a final layer of rubber to model and baseboard. Let all layers cure at least 6 hours at room temperature ( 72˚F/22˚C) before applying the Plasti-Paste support shell.
